


Step-by-Step Guide for Laying a Vinyl Sheet Flooring
Tools and Materials to Use:
- Trowel
- Putty knife
- Manual screwdriver
- Oscillating multi-tool
- Drill and driver items
- Tape measure
- Utility knife
- Vinyl sheet flooring
- Level compound and pre-mixed flooring patch
- Double-sided tape for flooring
Step 1: Remove obstructions
Start by removing moldings and baseboards and any other obstruction in the flooring area.
Step 2: Ready the subfloor
The subfloor should be free from seams, gouges, or gaps that could potentially get into the soft vinyl’s surface.
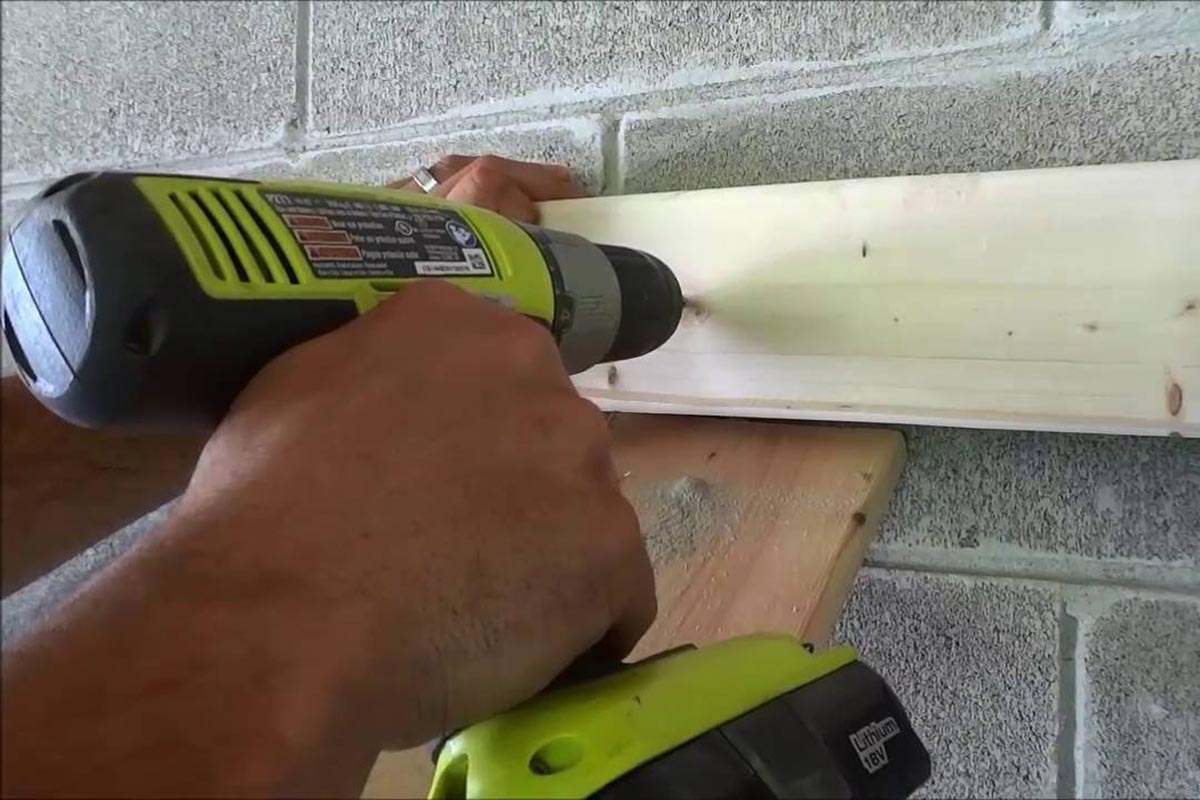
Step 3: Cut under-door trim
Use a wood blade to cut under-door trim of 1/8 inch. You can also get rid of the door trim and re-apply it after the flooring has been laid.
Step 4: Cut the vinyl sheet flooring
Cut the vinyl sheet flooring to the same size as the room with about an added four inches to each side.
Step 5: Do relief cuts
To relieve any tension in the flooring, do relief cuts around the corners.
Step 6: Add the adhesive tape
Add adhesive tapes to areas where traffic is prevalent such as the front door, in front of the cabinets, and in front of the comfort room’s door.
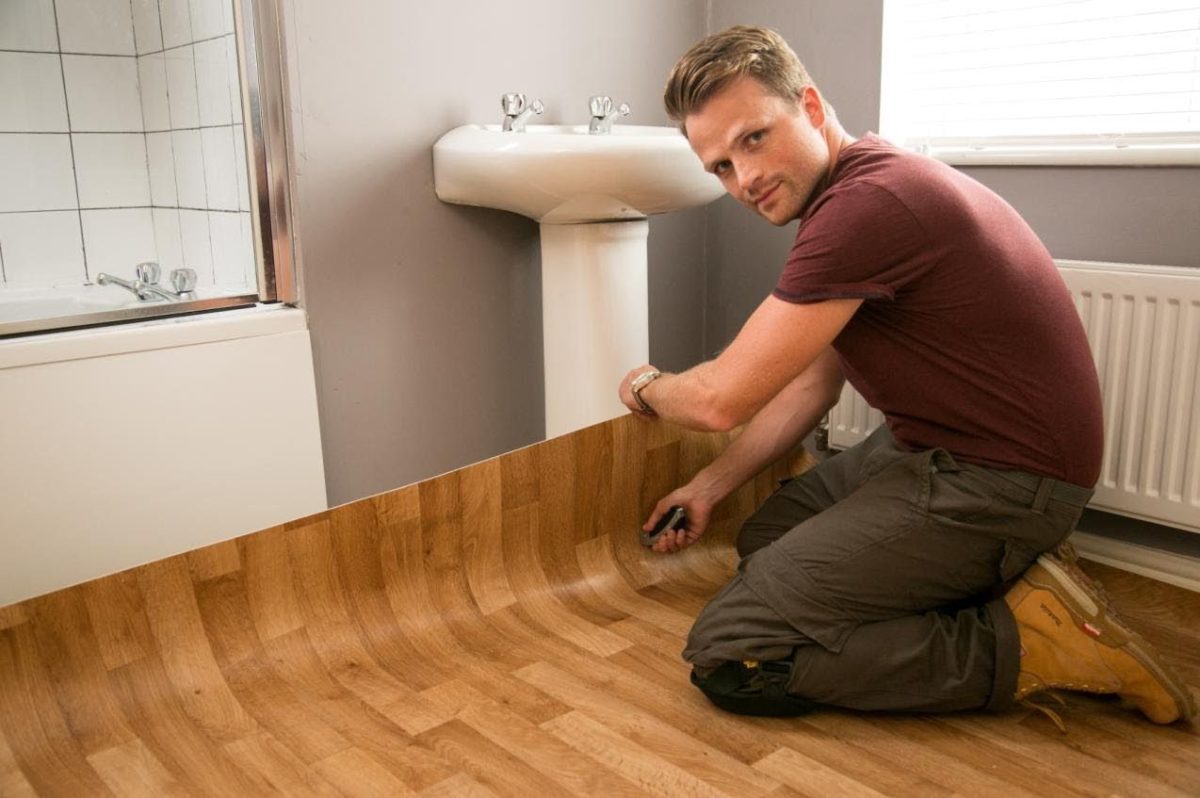
Step 7: Start laying the vinyl flooring
You can now lay the vinyl flooring sheets in the installation areas.